
Leatherworking of any kind remains one of the most time-honored craft skills in the world. While some might focus on tanning or crafting leather goods, others use modern tools like a laser engraver to personalize everything from branded keychains to putting a logo on a leather patch for a backpack.
The only challenge is that some beginners notice that laser etching leather is quite different from working with soft or high-contrast wood. Leather reacts to heat much more quickly, producing darker marks, so you need to tweak the settings to ensure a high-quality design. Here is a quick guide to engraving on leather, including the materials to use and beginner mistakes to avoid.
Why Leather Reacts Differently Than Wood Under a Laser
Leather is beautiful to work with when using a laser engraver. When you use wood, the fibers burn gradually, creating a slow transition between the current focus area and the surrounding surface. Leather’s reaction is much faster.
Leather material comes from animal hide (unless you’re using a synthetic substitute), which has more than likely been processed using a lot of tanning methods. That puts natural oils and dense fibers in close contact with heat, burning the top layer quickly and leaving dark marks.
You have to use power and speed adjustments to avoid scorching the material or causing uneven burn marks. That takes time and experience. Plus, leather is much more flexible, allowing it to bend and turn as you work with it.
What Type of Leather Is Safe and Beginner-Friendly?
The good news is that some leathers are easier to work with than others, offering beginners a welcome foundation for engraving.
Vegetable-Tanned Leather
The most beginner-friendly laser etching leather material is vegetable-tanned. That means it was processed with natural plant-based oils instead of chemicals. The natural composition engraves more cleanly than others, providing the rich contrast you want for a first and last name on a graduation present or personalized iPhone case. The vegetable-tanned material responds consistently to heat, helping you control engraving depth so you can learn how to best use power settings.
Why Chrome-Tanned Leather Can Be Risky
Chrome-tanned leather is a different story. It can be challenging for beginners due to the chromium salts used in the tanning process. Whenever the high heat from a laser engraving machine hits those chemicals, you end up with unpleasant (or potentially harmful) fumes.
The engraving results on chrome-tanned leather aren’t as rich. There are inconsistent color changes that can make the result look blotchy rather than sharp. If you’re new to using a laser engraver for leather, you should probably avoid chrome-tanned leather until you’ve mastered your skills.
Thickness & Surface Finish Explained
Regardless of the leather’s tanning condition, thickness and softness affect your engraving results. Thinner leather responds to heat faster, while thicker material handles deeper engraving but may require a slower speed.
Look for smooth, untreated leather whenever you can. That will give you smooth, clean engraving results on leather, compared to waterproofing layers, glossy surfaces, or heavy coatings.
Why Leather Turns Black (And How to Control It)
One risk of engraving on leather is getting a dark, almost black color on your designs. This is known as “carbonization.” It’s when the laser engraver's heat burns the organic fibers, converting them into black carbon.
If you can control this effect, you actually get a worthwhile ability to balance contrast. Higher power at slower speeds means deeper burns and darker marks. That can work to fill in certain details.
For beginners, you can avoid carbonization by starting with a lighter burn. Increase your depth over time, and you’ll begin to see the difference, but start small and make sure to wipe away any residue or soot after a burn.
Beginner Mistakes That Ruin Leather Projects
Even someone with many ideas and prior laser engraving experience can make beginner mistakes when laser etching leather. For example, you might pick the wrong type of leather (chrome-tanned rather than vegetable-tanned) and release fumes or produce inconsistent results.
Another mistake is using way too much power too quickly. That will burn your leather, scorching the material beyond repair. It’s always a good idea to test out your laser engraver for leather on small scrap pieces before launching into a new project.
Material positioning is another concern. Leather is flexible and will shift during engraving, so securing your pieces helps you get a better pathway instead of a distorted image or type font.
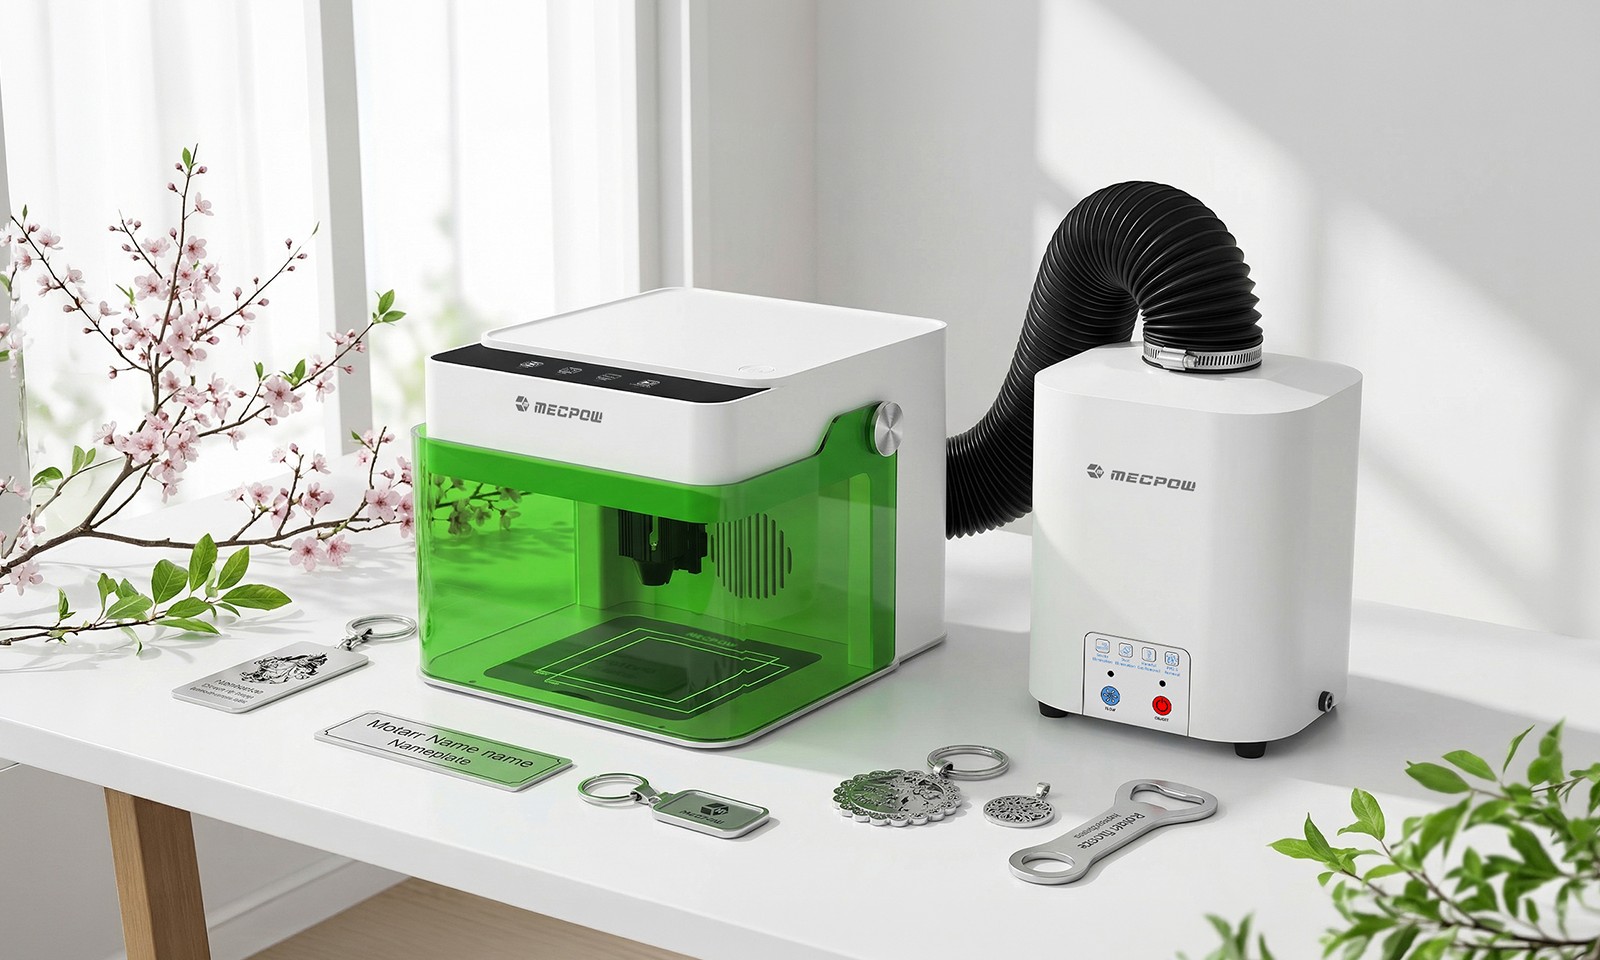
The last mistake many beginners make when using a laser engraver for leather is failing to provide proper ventilation. Leather will produce smoke and odors. Be sure you’re around a fan, open window, or large space so none of those fumes affect you.
Recommended Laser Settings for Your First Leather Engraving
Every machine is different. Having a Mecpow laser engraver helps your leather etching because it's so easy to get started with intuitive controls. However, you can help yourself out by sticking to a few general guidelines.
- Use a lower power with higher speeds to begin with to avoid burning (carbonization).
- Increase power gradually over time after you’ve grown comfortable with a few scrap pieces.
- Run multiple light passes instead of a single heavy burn for more control and reduced material damage.
- Always test your material before engraving a final piece.
It’s also a good idea to keep a notebook handy. Jot down any settings that produced certain results you like. That way, you build up a mental library of unique settings for certain contrasts, burn marks, or colors.
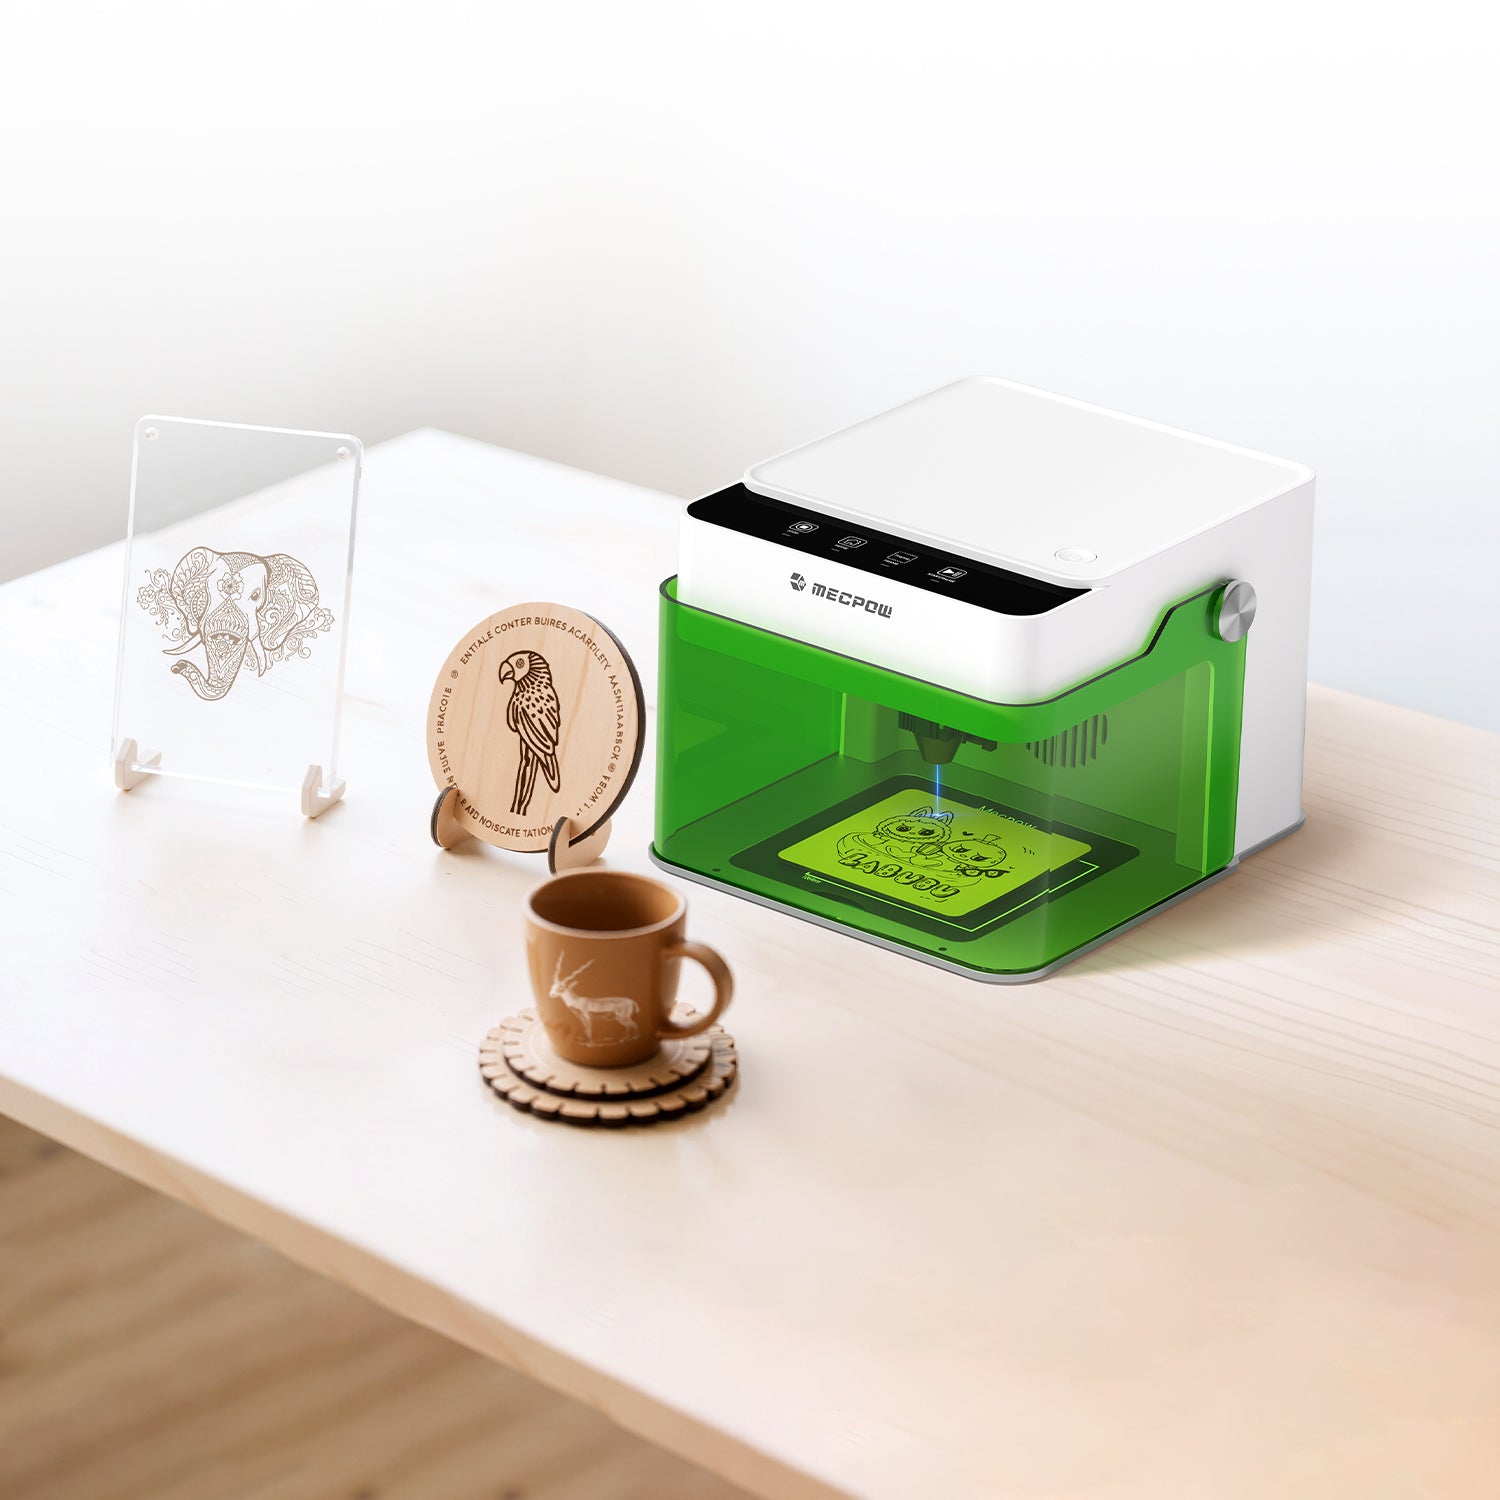
Why the Mecpow M1 Is Suitable for Leather Beginners
Learning how to engrave on leather starts with choosing the right machine. The more precision control you can get without needing a lot of technical knowledge beforehand, the better. The Mecpow M1 laser engraver is specifically designed with that balance of simplicity and control in mind.
Precision Diode Control for Surface Marking
The M1 is built with a diode laser in 3.5W, 5W, or 1.2W infrared options. Not only does that give you plenty of control for burning, etching, and engraving on leather, but it also ensures you can expand your skill set to over 300 other materials.
Adjustable Power for Depth Control
Leather requires more attention to laser intensity and heat control than wood. The M1 is designed with simplified controls, easy-to-use features, and a working speed of up to 10000 mm per minute. That helps with lighter burns when you’re just starting and the ability to perfect multi-pass techniques.
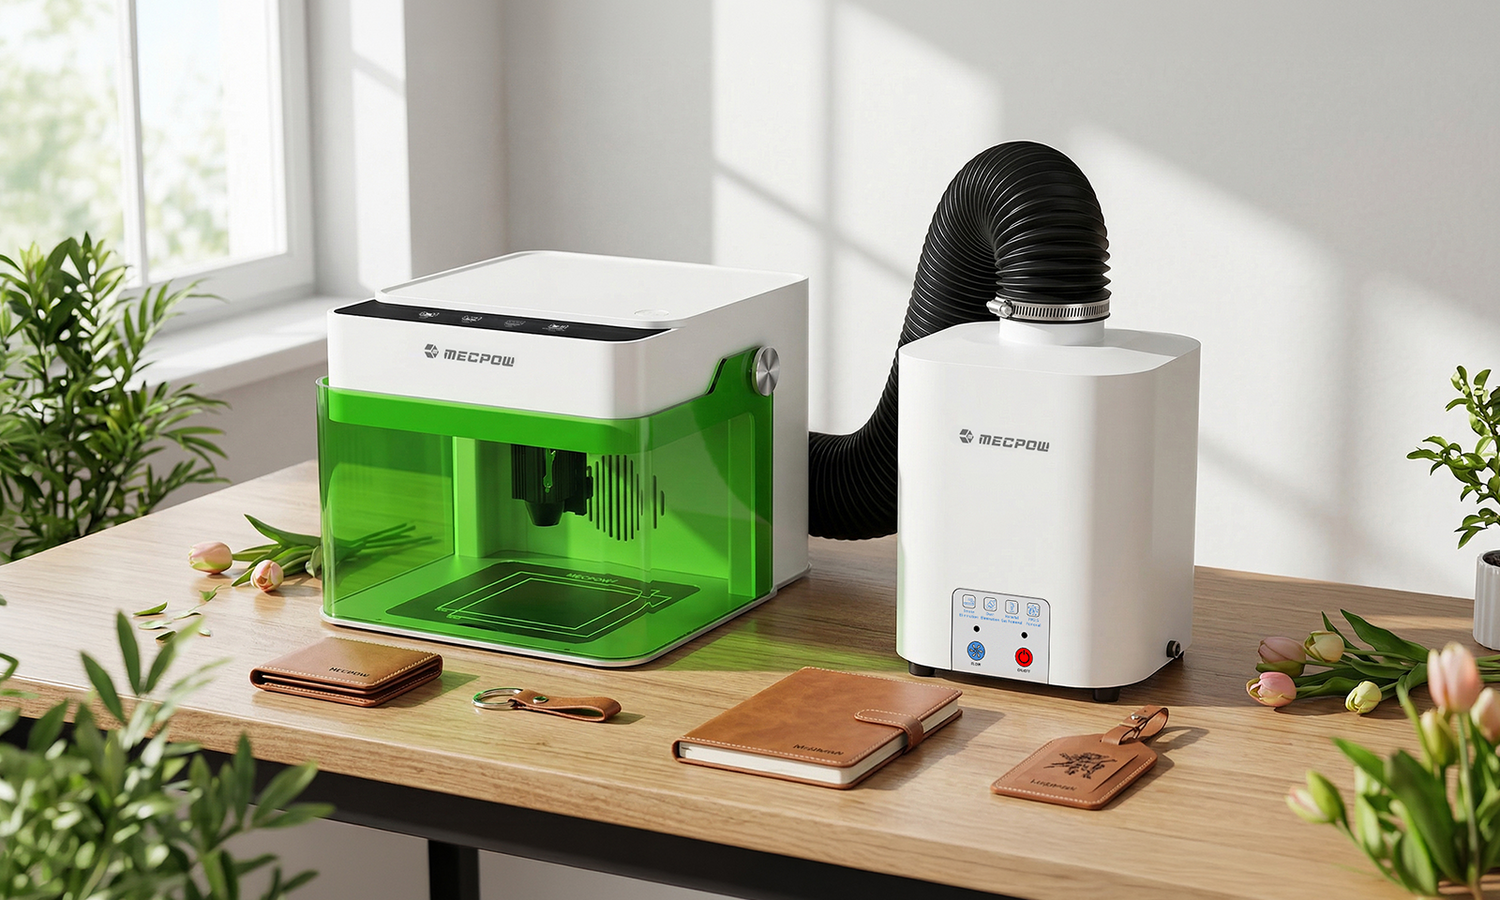
Compact Setup for Home Crafting
Best of all, the M1 laser engraver is small enough to fit into most apartments, crafting workstations, or home multipurpose spaces. It has an auto-stop safety feature and an enclosed design to help protect your eyes as you work with stunning leather designs. Everything is ready out of the box, so you can clear a well-ventilated space on your table and get to crafting.
7 Easy Leather Projects for Your M1 Laser Engraving Machine
With the right laser engraver on your side and plenty of scrap pieces of leather to help you build your skills, you can create incredible keepsakes or personalized gifts. Some of the better ideas to get started with include:
- Personalized leather patches for hats, backpacks, and totes
- Leather money clips or wallets with names and logos
- Leather keychains you can attach to keys, workout gear, and laptop bags
- The covers of leather journals with a name, date, or niche purpose (dreams, finance, etc.)
- Bookmarks for the avid reader in your friend group
- Bespoke luggage tags for traveling and not losing your suitcase
- Leather coasters to protect your furniture and have fun with custom sayings

All of these are relatively easy because they involve smaller pieces to work with that won’t break your crafting budget and can be secured well, so they don’t move around during etching.
Conclusion: Your First Burn Should Teach You, Not Scare You
Learning the ins and outs of laser etching leather is more about feeling empowered to experiment. Give yourself the space to make those early mistakes by working with scrap pieces. Over time, you’ll learn how the leather reacts to different power, speed, and overall heat settings.
Start with a well-designed laser engraver like the Mecpow M1. That will make the learning process much easier and safer. Having a user-friendly device to guide you on your leather engraving journey ensures you achieve wonderful results with every item you create.

Leave a comment
This site is protected by hCaptcha and the hCaptcha Privacy Policy and Terms of Service apply.