
Laser engraving is one of the most rewarding hobbies and a great way to run a side hustle from home. It ensures repeatability with custom designs you can personalize for any client or occasion. In that process, there is almost always a time when something in your engraving workflow will feel “off.”
Most of the laser engraving issues you’ll come across are not random. They are due to variables in how you set up your laser engraving machine and how it interacts with the surface and materials.
Knowing how to troubleshoot these common errors goes a long way to changing the “off” feeling into an “Ah-ha!” The more you can identify those issues and quickly overcome them with easy-to-implement solutions, the faster you can get back to creating stunning designs.
Diagnosing Your Laser Engraving Machine: 4 Common Problems
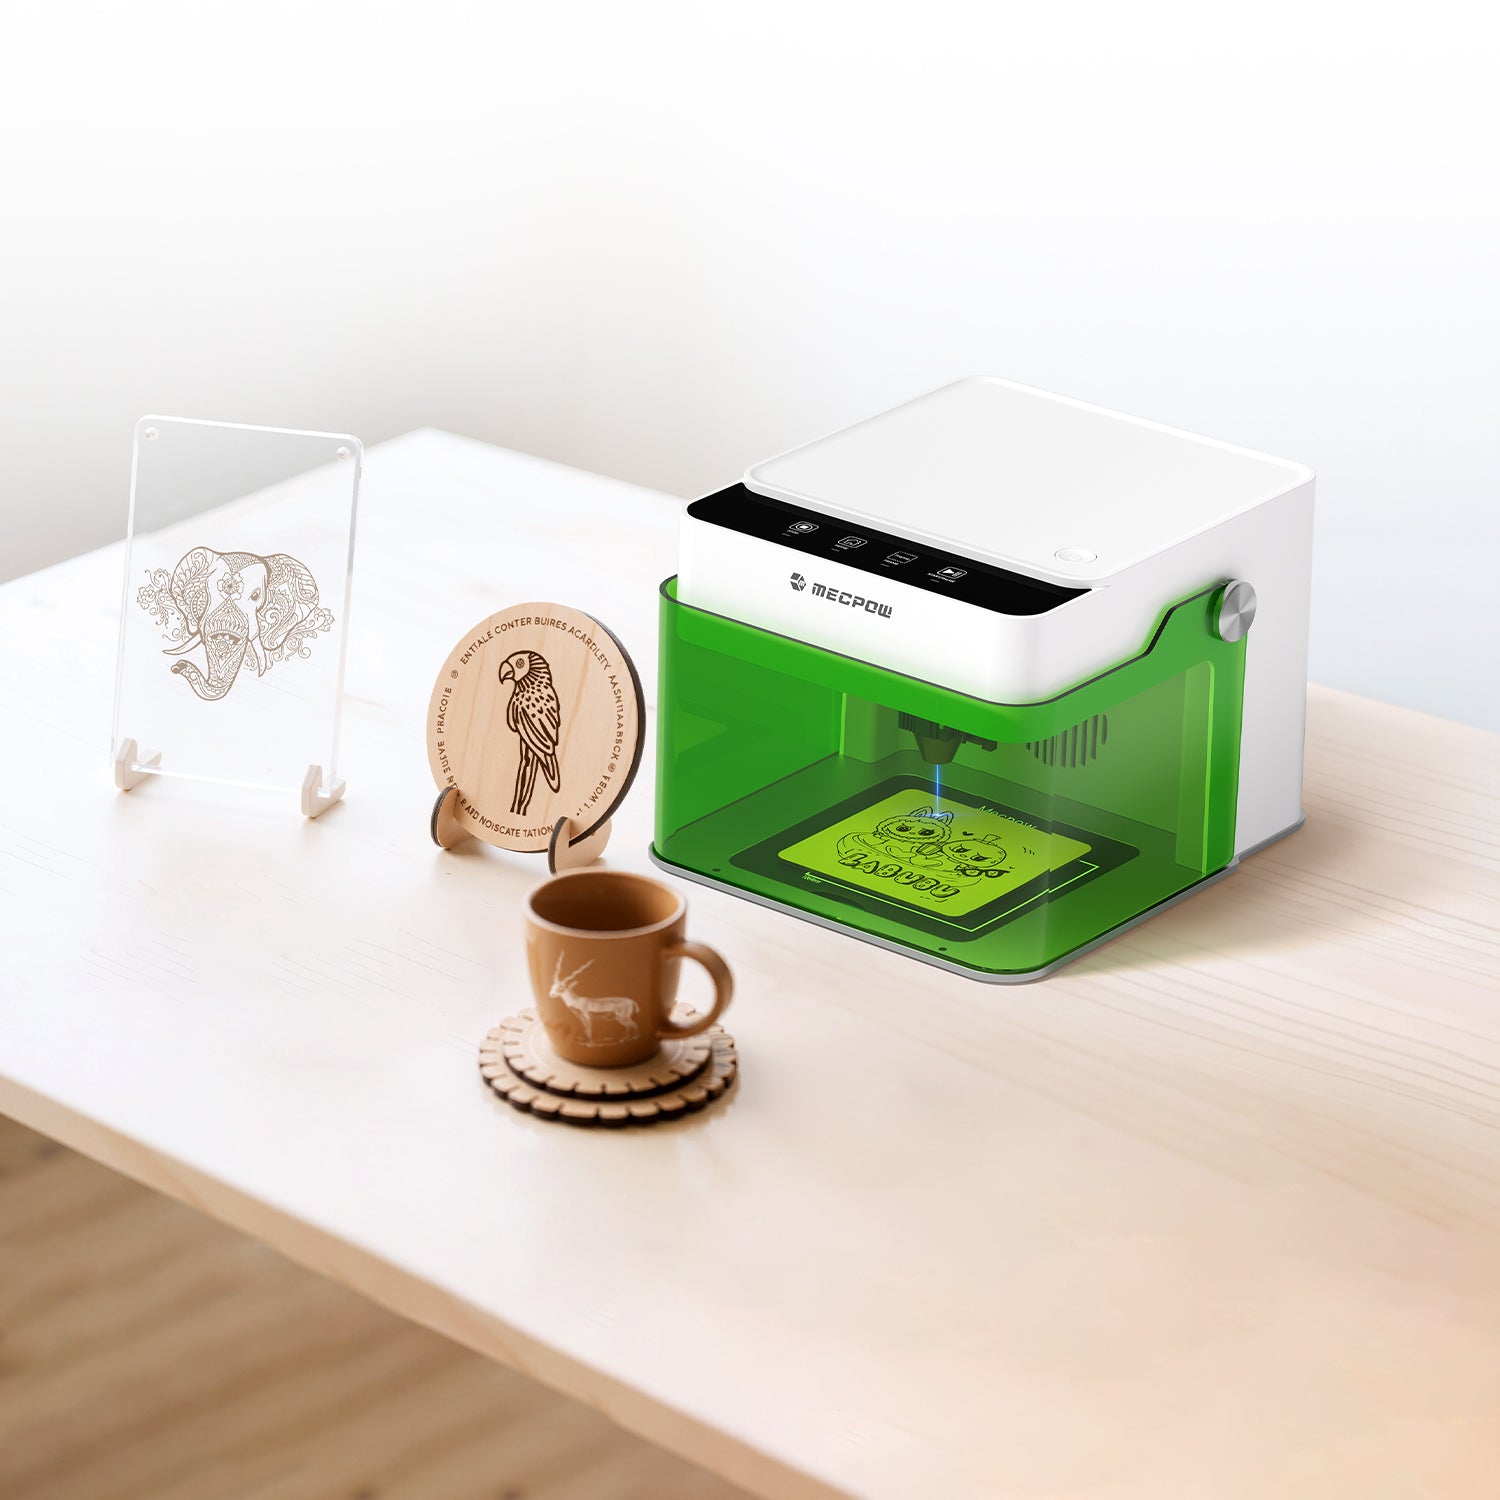
While many different types of errors can occur, these are the most common that you’ll come across. If you’re using a premium-quality machine like the M1 Laser Engraver from Mecpow, these issues will be nothing more than a minor speed bump in your workflow.
Blurry Edges & Unclear Details
The beauty of laser engraving is the ability to create custom designs. You should be able to get all the details on a map with the geographic coordinates of where your best friend asked for his soon-to-be wife’s hand in marriage. The same is true for a family name on a wooden sign above your garage.
When you end up with blurry edges or unclear design details, it is likely due to incorrect laser focus. Laser engraving works with (among others) a diode laser. When that beam of light isn’t focused as it should, it spreads out when it touches the surface. Instead of a sharp focus that engraves the lines, shading, or complex images you want, you end up with a weaker beam that cannot replicate crisp edges.
The surface of your material is also important. If the leather is warped or the wood too grainy, it can impact the clarity of your design.
To fix the issue, start by recalibrating your focus. Make sure you are at the correct focal distance from your material. Tweak the power and speed settings and run a pass over a test strip of the material you’re using. That will help you calibrate the laser engraver so the details are clear, legible, and consistent.
Excessive Charring & Deep Burn Marks
Charring is probably the most common problem you’ll find during your exploration of laser engraving. It happens whenever the beam darkens the material too much, so edges look burned or even warped under the heat. It’ll be with wood more often than not.
The problem you’re having is heat concentration. If the diode laser spends too much time in a certain area or has too many passes, it burns beyond the depth you want. Higher laser power combined with slow laser speed delivers too much energy, leading to charring. When combined with poor airflow from improper ventilation, heat and smoke linger.
The solution is a balance between power and speed. Start by increasing the speed and reducing the number of passes. You can also reduce the laser power, but speed is the primary way to fix this problem. Just start with small adjustments until you find the right settings, and always double-check you have proper airflow/ventilation in your workspace.
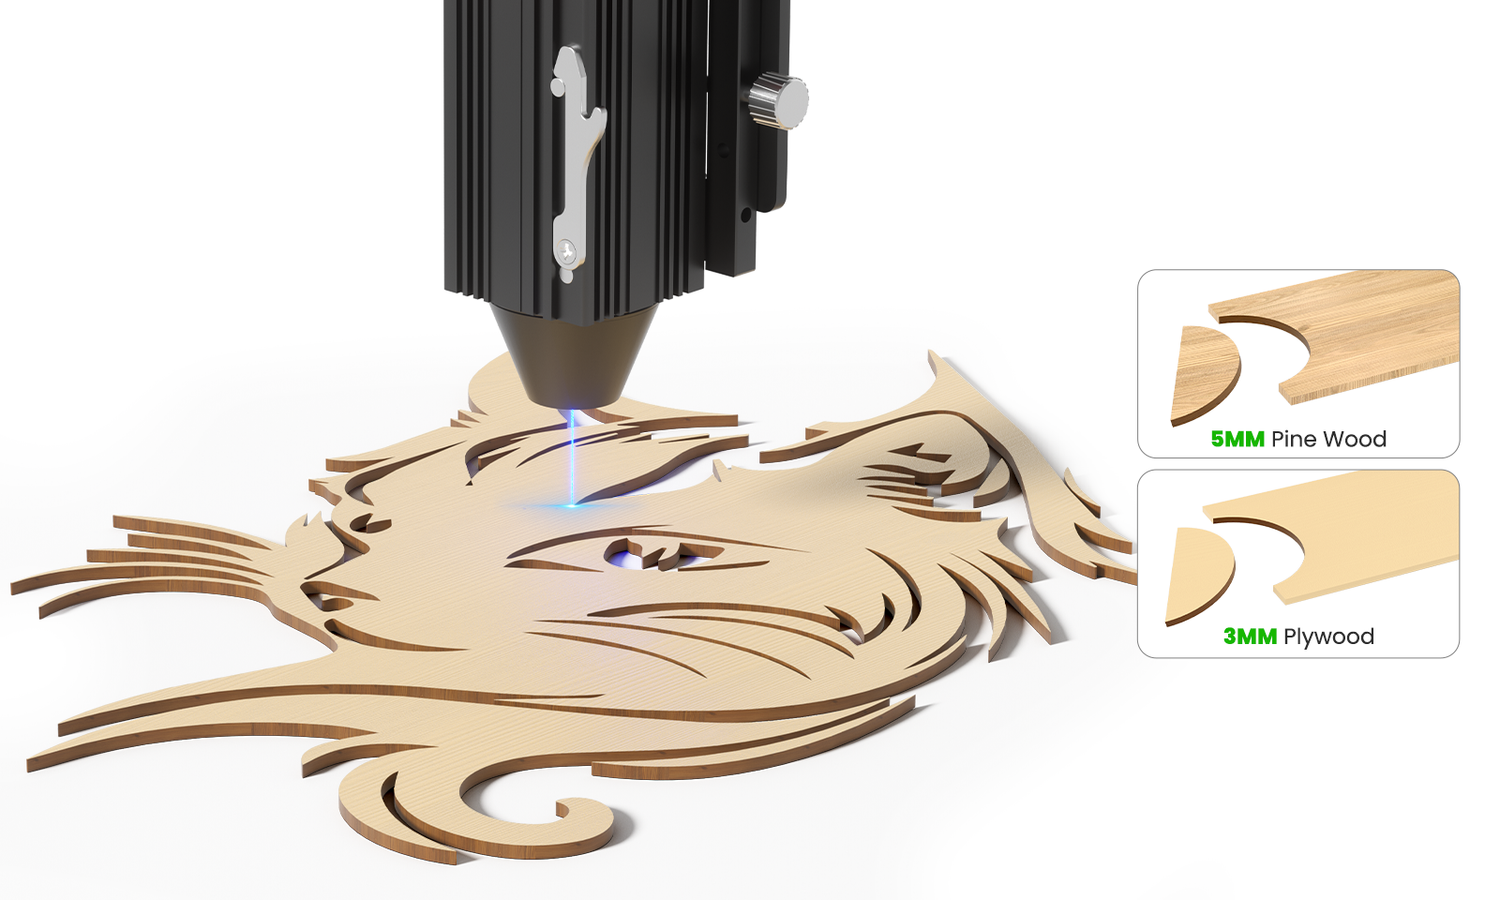
Shallow Engravings & Incomplete Cuts
Unlike charring, shallow engraving is the opposite issue. Instead of harsh cuts, you get faint lines. This is because you’re moving too quickly across passes or do not have enough laser power to get into the material depth.
First, check your material density. Some woods, acrylic, and leather have thicker consistencies than others. Next, increase the laser power and slow the laser speed. That should provide a more controlled approach that engraves deeper for bolder lines and deeper shading.
Misaligned Designs & Skipping Lines
Misaligned designs where the diode laser skips over a word or curve of an image aren’t likely due to the laser engraving machine. It’s more often a software problem. If your lines seem like they’re skipping every few passes, start by looking at the machine’s parts. Loose connectors or unstable surfaces could be the issue.
If all the mechanical parts seem properly aligned and set (including securing the material on the plate), consider the software. Be sure you’re using approved programs for the engraver you’re working with and that the design is fully uploaded or processed. You may have started the engraving process before the image was fully realized by the software. It may sound basic, but a simple restarting of the machine and software could be enough to help.
The Golden Triangle of Fixes: Mastering Focus, Speed, and Power
No matter what issue you might be having with your laser engraving experience, always fall back on the “golden triangle.” These are the laser focus, laser speed, and laser power. They’re kind of like the sink, fridge, and stove in your kitchen. Without them, it becomes much harder to cook a nutritious, balanced meal.
Double-checking that all legs of the golden triangle are properly aligned, calibrated, and working in tandem eliminates most of your troubleshooting issues. Just remember:
- Laser focus determines precision
- Laser speed controls exposure time
- Laser power sets your energy output
Having these three settings correct will ensure repeatability in your design outcomes. That’s how you save time and money when putting out a bunch of new coasters for a business client about to celebrate a product launch or monogrammed keyrings for everyone in your family before a reunion.
Why the Mecpow Laser Engraver Minimizes Common Errors
One of the most significant reasons the M1 Mecpow laser engraver is so popular among engravers at all levels is its ease of use. All of the settings are adjustable, making it a cinch to fine-tune speed or power without having to relearn another mechanical skill.

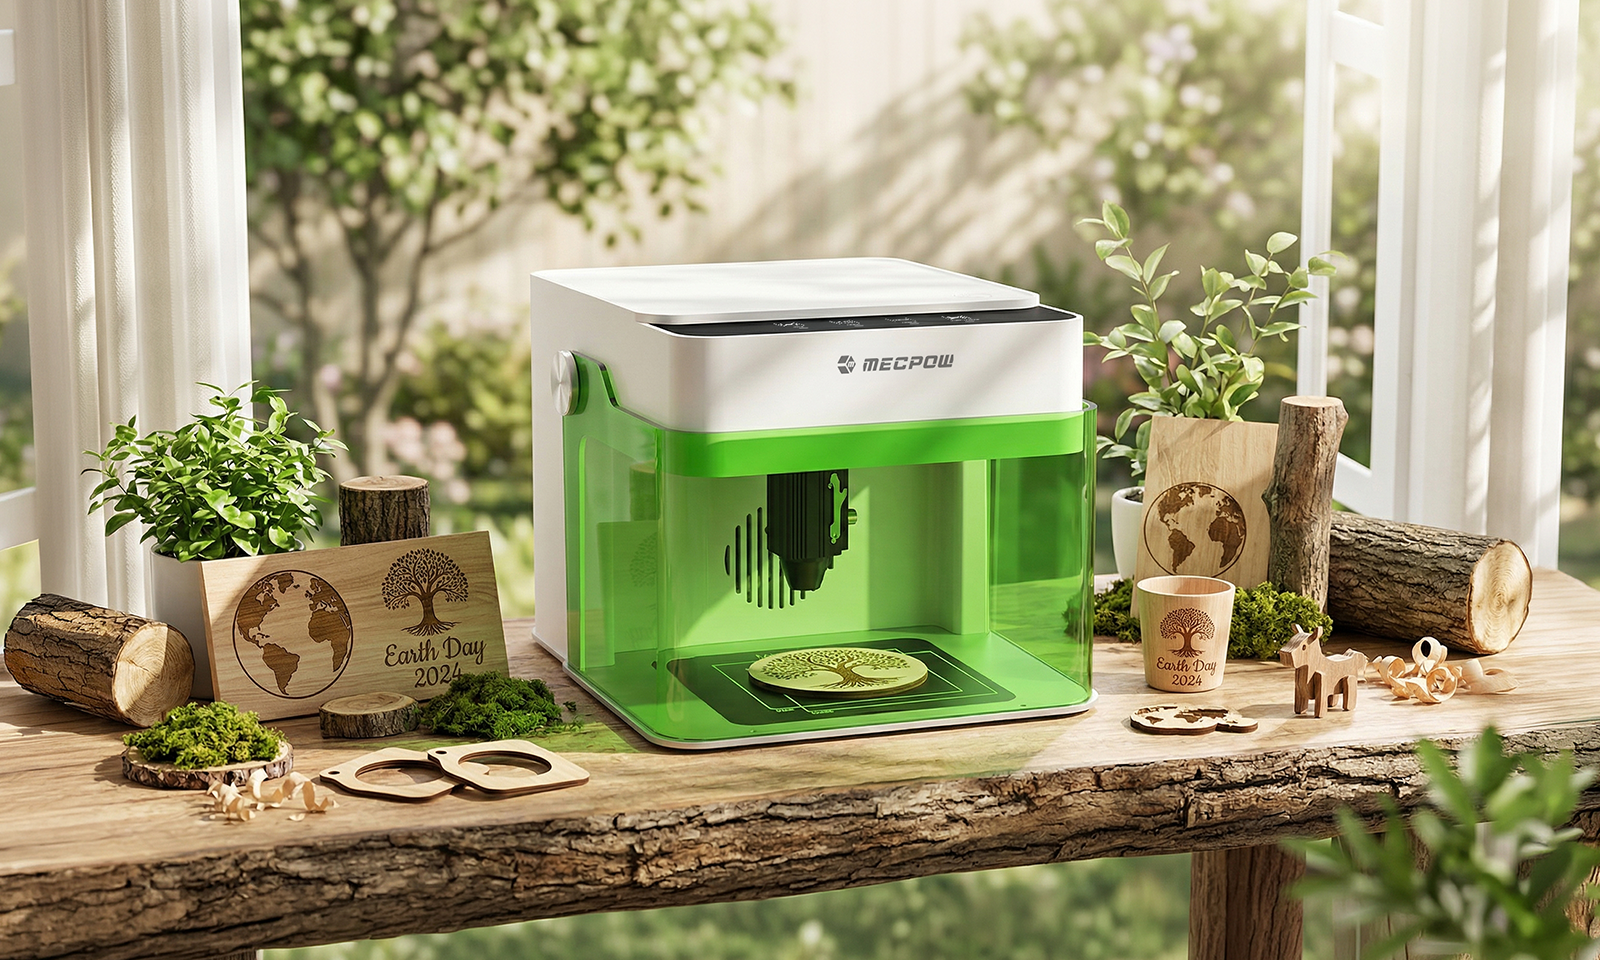
The M1 is also compact in design, simplifying the overall form factor. It’s ready to use out of the box and comes in 3W and 5W designs for diode lasers or an optional 1.2W infrared laser if you prefer. That ensures you can work with over 300 types of materials without sacrificing repeatability or consistency in laser power control.
For beginners, the M1 has enough control to shorten any learning curve. For pros, the M1 creates the predictable workflow needed to run a business or grow a hobby. It’s a win-win scenario.
Master Your Craft & Eliminate Engraving Waste
Troubleshooting in any hobby is natural. There are plenty of times you have to rethink how you jog to reduce stress on your knees or tie a lure when fly fishing in a new river. Laser engraving is much the same. You learn as you go and hope to reduce any material waste over time.
A key way to reduce the impact of troubleshooting is to use a professional-grade laser engraver in an easy-to-use form. That is what the Mecpow laser engraver provides. Enough power, focus, and speed for repeatable design outcomes that reduce waste. That’s how you reduce mistakes so you can learn and move on to something new.

Leave a comment
This site is protected by hCaptcha and the hCaptcha Privacy Policy and Terms of Service apply.